Example One – Streamline Repetitive Responses
In this example, we’ll explore how TextExpander can be your trusty sidekick when dealing with repetitive boilerplate content. Imagine you’re an accountant, and those child-tax credit inquiries keep flooding your inbox. Fear not! TextExpander is here to streamline your responses.
Scenario: Answering Child-Tax Credit Questions
The Challenge: You are an accountant who receives frequent questions about the child-tax credit. Responding to each one manually is time-consuming and, frankly, a bit tedious.
The Solution: Introducing TextExpander! We’ll use snippets to handle the boilerplate text. But first, let’s grab some content from the IRS child tax credit page (https://www.irs.gov/credits-deductions/individuals/child-tax-credit) as our example.
The first example we are going to look at is using TextExpander to handle boilerplate text. Let’s assume we are an accountant who is getting inquiries about the child-tax credit. I am going to use the text from the irs.gov child tax credit page (https://www.irs.gov/credits-deductions/individuals/child-tax-credit) as an example.
- Open the TextExpander app and you should end up on the screen shown below:

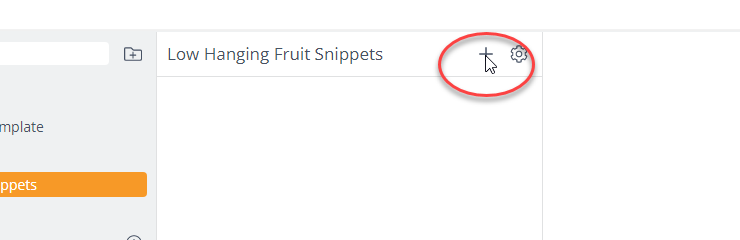
- Next, you will select the snippet group you want to put the snippet in. I created one for this series of posts, called Low Hanging Fruit Snippets. Click on the plus icon to add a new snippet.
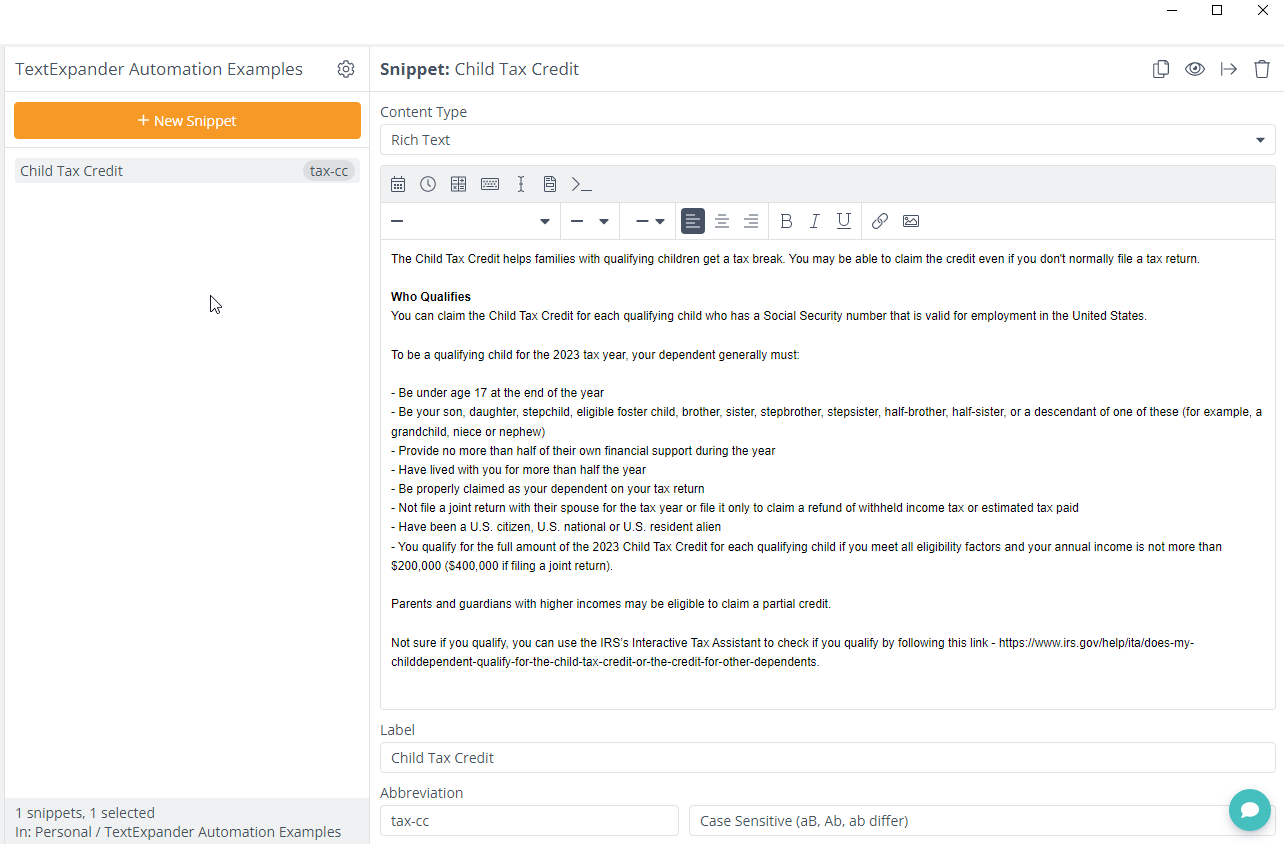
- You will now see a new section called, not surprisingly, Snippet.
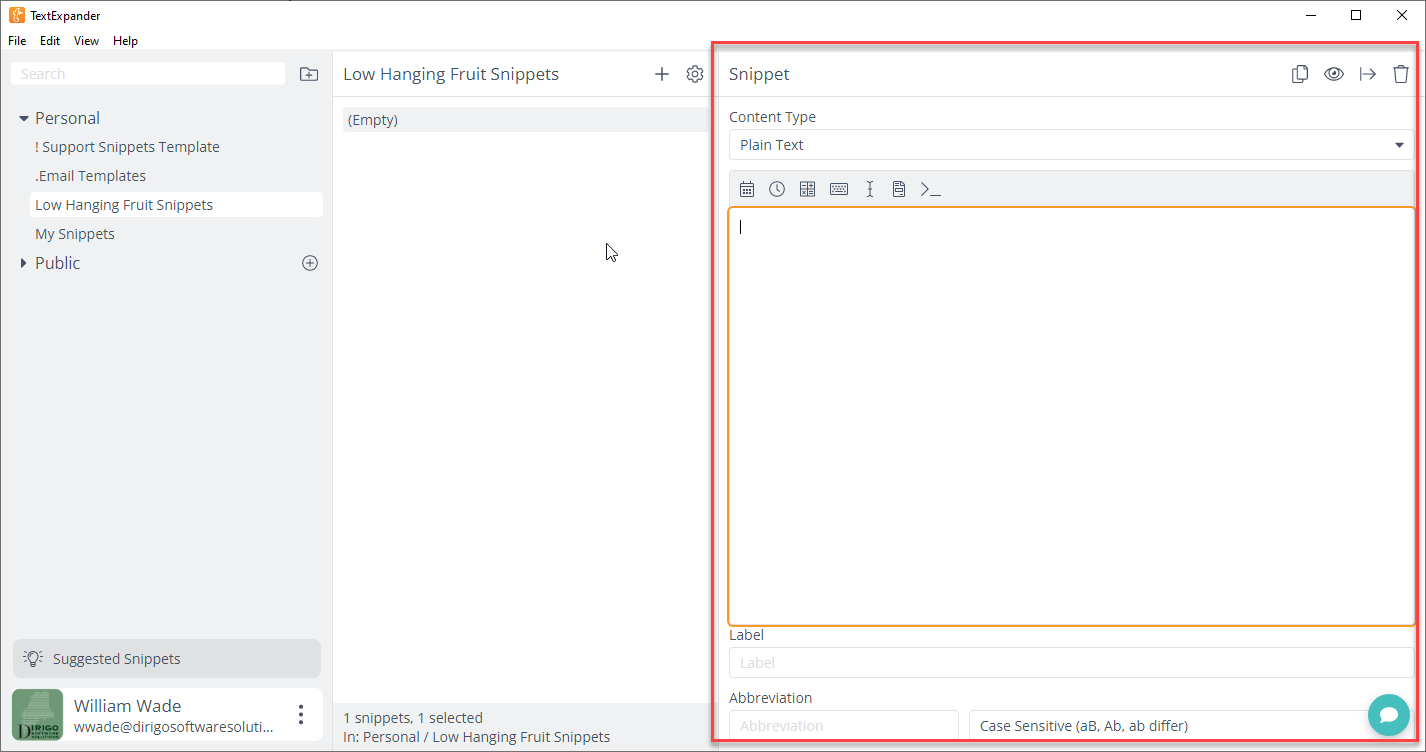
- In this example we are not going to focus too much on what each option does. We want the Content Type to be Formatted Text, Pictures to allow us to use text formatting, in this case bold and the blue font color. In the textbox, we are going add the following text:
The Child Tax Credit helps families with qualifying children get a tax break. You may be able to claim the credit even if you don’t normally file a tax return.
Who Qualifies
You can claim the Child Tax Credit for each qualifying child who has a Social Security number that is valid for employment in the United States.
To be a qualifying child for the 2023 tax year, your dependent generally must:
- Be under age 17 at the end of the year
- Be your son, daughter, stepchild, eligible foster child, brother, sister, stepbrother, stepsister, half-brother, half-sister, or a descendant of one of these (for example, a grandchild, niece or nephew)
- Provide no more than half of their own financial support during the year
- Have lived with you for more than half the year
- Be properly claimed as your dependent on your tax return
- Not file a joint return with their spouse for the tax year or file it only to claim a refund of withheld income tax or estimated tax paid
- Have been a U.S. citizen, U.S. national or U.S. resident alien
- You qualify for the full amount of the 2023 Child Tax Credit for each qualifying child if you meet all eligibility factors and your annual income is not more than $200,000 ($400,000 if filing a joint return).
Parents and guardians with higher incomes may be eligible to claim a partial credit.
Not sure if you qualify, you can use the IRS’s Interactive Tax Assistant to check if you qualify by following this link – https://www.irs.gov/help/ita/does-my-childdependent-qualify-for-the-child-tax-credit-or-the-credit-for-other-dependents.
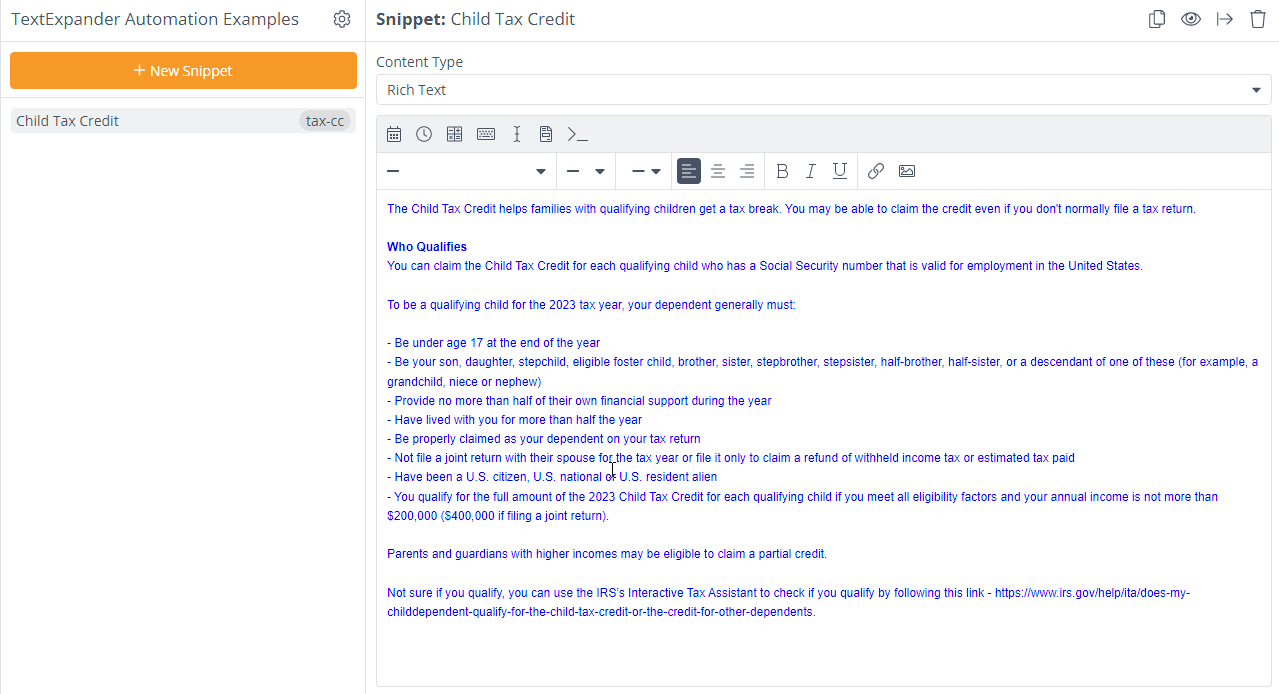
- Your screen should now look like this.
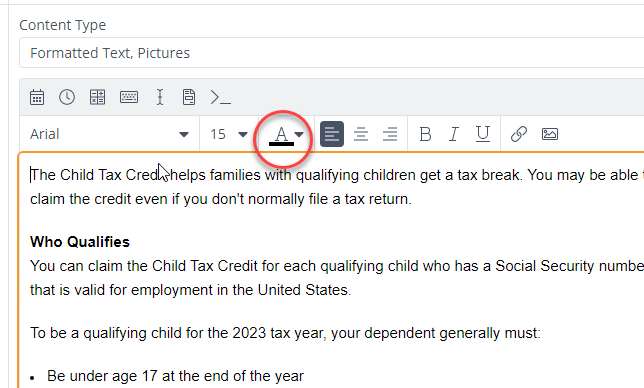
- Now we don’t want to keep the color blue, since it was just for demonstration. Ensure you have the textbox selected. Use ctrl-A to select all the text and then click on the font color drop down, shown below, to select black.
- That will change all the text to black. We now want to set the label field to a name we will remember if we ever need to make any changes.
- After that we need to set the abbreviation. This is the text we are going to type that will then be expanded into the text we have in the snippet. The suggested best practice is to use a prefix that will ensure it won’t expand something you didn’t expect. For this example, I am going to use tax-cc, for tax child credit. You can see how it looks below:
- The final step is to test this. Open an email or a text document. Type tax-cc and it should expand into the text we entered. Just that simple.
Now, that was a simple example. While it alone can make life a lot easier, there is a lot more that it can do. Next, let us look at using forms to fill in dynamic fields.
Take a Look at the Snippet Options
Before we move on to example two, let’s take a quick look at the options you have in the Snippet window. I have labeled the sections with numbers.
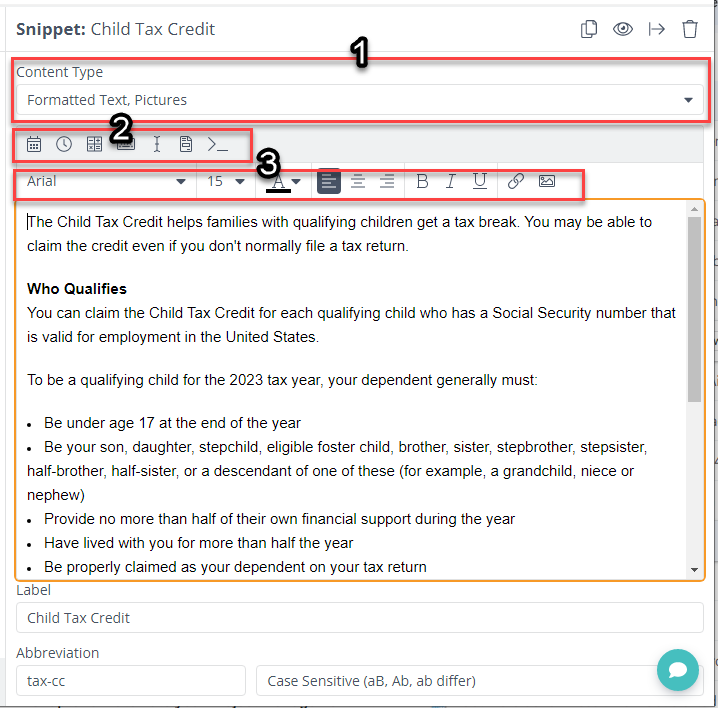
- Content Type: The content type drop-down allows users to select the content type for their snippets, such as plain text or formatted text with pictures. Plain text is simply text with no formatting. So, when the snippet expands it takes on the formatting of the program they are expanded in. Formatted Text, Pictures allows you to include things like hyperlinks and pictures. This is better for things like an email signature where you might want to include an image with other embedded hyperlinks. Finally, there is support for scripting languages like shell script, AppleScript, and JavaScript, though these will not be covered in detail as they are an advanced feature.
- Editing bar – Macros: These are little bits of code that allow you to work with things like Dates, Times, Keyboard, etc… They allow you to add dynamic content to your snippet, such as using a fill in to get a client name. We will be covering those in more detail in later examples, so for now I am just pointing them out.
- Editing Bar – Text Formatting Options: Depending on which Content Type you selected you may or may not see this. If you select Formatted Text, Pictures it will appear, otherwise it will be hidden. These options just allow you to format the text in your snippet.
Ok, with that brief introduction out of the way, let’s look at using the macro options to add dynamic data to our snippet in Example 2 – Prompting the User for Data.
Ready to Take the Next Step?
If you found this post helpful, don’t miss out on the rest of the series. Explore the other posts for more insights and strategies. And if you’re looking to apply these ideas to your own business, let’s connect and discuss how I can help you achieve your goals.
- Example 2 – How to Prompt Users for Input
- Example 3 – Working with Dates and Times
- Example 4 – How to Automate Keyboard and Cursor Actions
- Example 5 – Making Snippets Interactive with Fill-ins
- Example 6 – How to Reuse Common Text in Multiple Snippets