Example Two – How to Prompt Users for Input
In this example, we are going to prompt the user for data that will be inserted into our snippet. In this case, we are going to take on the role of a business that is replying to a potential client, accepting or rejecting them. Let’s get started by going to the TextExpander program and selecting the group to which you want the new snippet to be added.
- Create a new snippet and select Plain Text. Set the label and abbreviation.
- Next, put in the following text, without worrying about the brackets as we will be using them to add the dynamic data later:
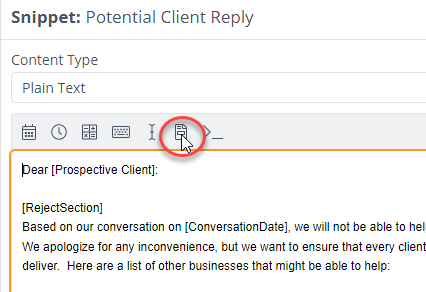
Dear [Prospective Client]:
[RejectSection]
Based on our conversation on [ConversationDate], we will not be able to help you with [JobDescription] due to [Reason]. We apologize for any inconvenience, but we want to ensure that every client gets the best results, which we feel we can’t deliver. Here are a list of other businesses that might be able to help:
Business One
Business Two
Business Three
Thanks for reaching out to us and we hope you find someone who can help you with your request.
[AcceptSection]
Based on our conversation on [ConversationDate], we feel we can help you. We would ask you to please fill out the onboarding form here – link. Once this is done we can get started working on your project.
Thanks for your business and we look forward to working with you.
MY EMAIL SIGNATURE
- Next, in the Snippet Editor, highlight [Prospective Client] and then click on the Fill-ins macro (seen below).
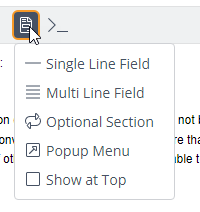
- A dropdown list will appear, for this we are going to select Single Line Field.
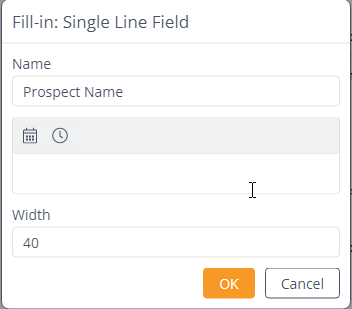
- Now a window will appear asking you to give the fill-in a name and set a length. The middle field allows you to set a default value, but as this is for a name we can ignore it. Then click OK.
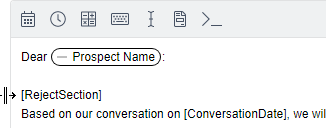
- You will then see that the highlighted text has been replaced with the name you entered.
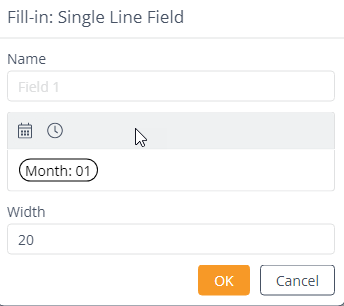
- Next, let’s add Fill-ins for the conversation date. Select the text [ConversationDate] and then click the Fill-ins macro > Single Line Field. Give it a name and then unlike before we are going to set the default field with default text. Click on the icon that looks like a calendar and select Month: 01. This will put a value into the default text field like below.
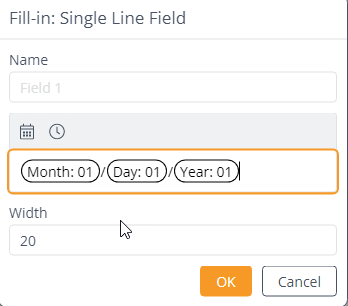
- Next, type a forward slash (/) to show the date separator. Now, select the day and year format, separated by another forward slash. The default field should look like this now.
- Click OK and you should now see the text has been replaced with the Fill-in.
- Next, click on the new Fill-in, copy it (ctrl-c), and then paste it over the other [ConversationDate] text.
- I am going to leave it to you to replace the [JobDescription] and [Reason] text. The single line of text should work, you just need to set a reasonable length.
- Now, we are going to add a section, so we can use either the reject or accept text.
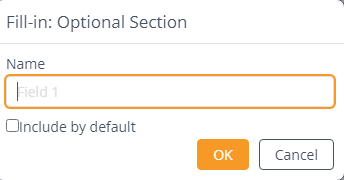
- Select the text [RejectSection] and then click on the Fill-ins > Optional Section. Give it a name. I am not checking include by default as I am going to assume most potential clients will become clients.
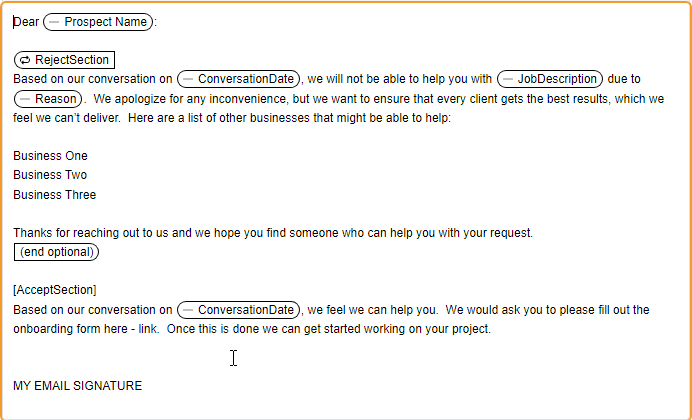
- You will now see the optional section tags called RejectSection.
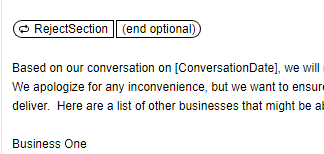
- Now, you can select the (end optional) button, use ctrl-x to cut it, and then paste it (ctrl-v) right above the [AcceptSection] text. This will define what text will be displayed if you select this option. The snippet should now look like the one below.
- Repeat step 10, but for the [AcceptSection]. I selected that it should be included by default. The snippet should now look like this.
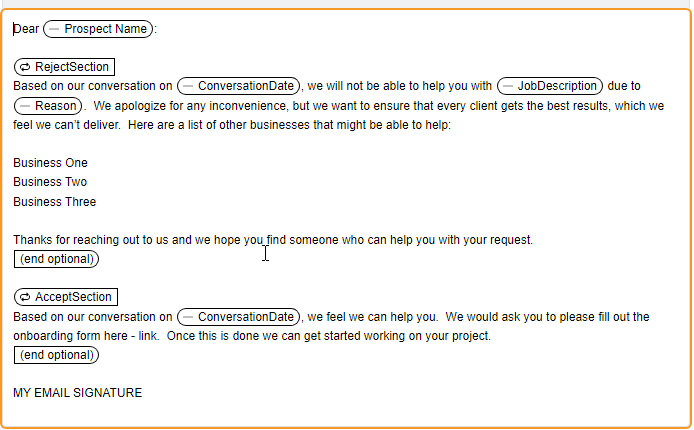
- I would then replace MY EMAIL SIGNATURE with your email signature below the AcceptSection to complete the snippet.
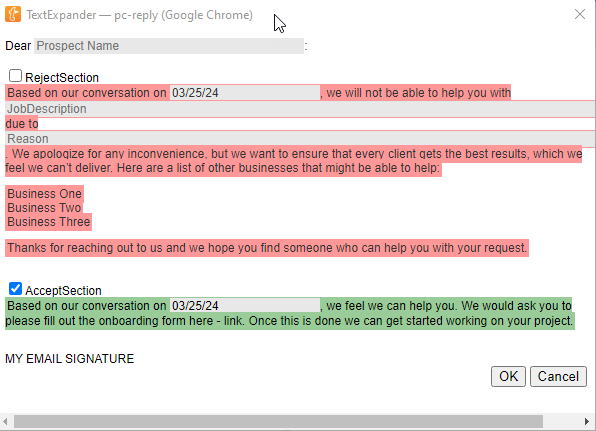
- The final step is to test this. Open an email or a text document. Type the abbreviation you set.. You should see a pop-up (see below) asking you to fill out the Fill-in fields we created. You can also set which section to include. Keep in mind that the text in red will not be shown, so if you see nothing but green then you have both sections selected. Just uncheck the one you don’t want and it should turn red. When you are done, click OK.
- You will now see text something like what I have below.
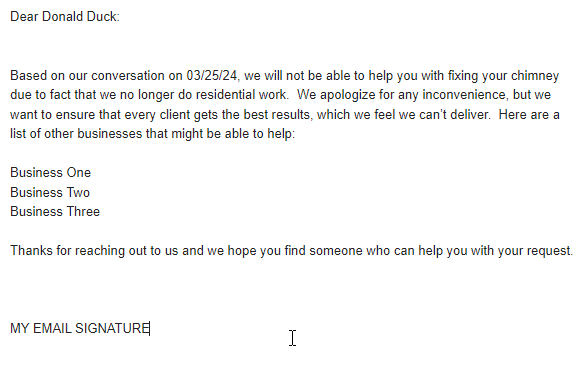
- Now I can replace the businesses with those that apply to this rejected client or remove it altogether. In our next example, we will be looking closer at the Date and Time macros in Example 3 – Working with Date and Time Macros.
Ready to Take the Next Step?
If you found this post helpful, don’t miss out on the rest of the series. Explore the other posts for more insights and strategies. And if you’re looking to apply these ideas to your own business, let’s connect and discuss how I can help you achieve your goals.
- Example 1 – Simplifying Boilerplate Text
- Example 3 – Working with Dates and Times
- Example 4 – How to Automate Keyboard and Cursor Actions
- Example 5 – Making Snippets Interactive with Fill-ins
- Example 6 – How to Reuse Common Text in Multiple Snippets